How to Practice Singing Quietly at Home? (Complete Guide 2026
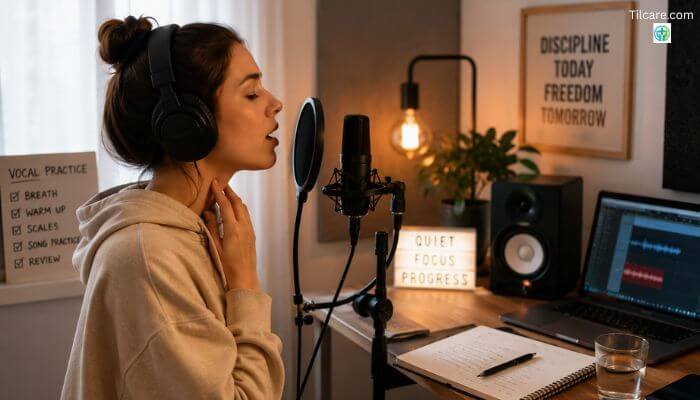
Practicing singing quietly is not a single technique it is a combination of vocal control, environment adjustment, and practice tools. This guide brings together everything needed to build a consistent quiet practice routine at home, especially in apartments, shared spaces, or time-restricted environments.
Singing quietly at home is about controlling vocal output while maintaining natural technique, especially in shared or noise-sensitive environments. It typically involves light warmups, controlled breath support, reduced resonance techniques, and consistent practice habits that avoid disturbing others.
Tools like vocal dampeners and acoustic-friendly environments can further help maintain practice consistency without increasing volume.
Table of Contents
The biggest mistake: singing quietly with tension
This is the part most guides skip, and it matters a lot. When singers try to reduce volume, the instinct is often to squeeze to physically tighten the throat to hold the sound back. That creates the opposite of what you want. Tight throat muscles strain fast, your pitch goes unstable, and you can walk away from a “quiet” session feeling worse than if you’d just gone full voice.
Quiet singing should still feel open. The airflow is reduced, but the throat stays relaxed. If you feel tightness, dryness, or a scratchy sensation while singing softly, that’s your cue to stop, reset, drink some water, and start over with less effort. Pain is never a good sign, even at low volume.
How to practice singing quietly at home?
Quiet vocal practice is not about lowering your voice, it is about controlling sound output while maintaining proper vocal technique in real living environments.
Try this:
Inhale slowly through your nose for 4 counts. Exhale on a soft “sss” sound for 8–12 counts. Repeat five times: Focus on keeping the exhale steady all the way through — no rushing, no trailing off at the end. The air should feel like it’s flowing, not being pushed. If your shoulders are rising on the inhale, try to redirect that movement down toward your belly.
This kind of controlled breathing primes your body for singing without relying on force, which is exactly what quiet practice needs.
What actually works in real homes?
In real situations, most singers are not dealing with ideal conditions like studios. They are practicing in bedrooms, shared apartments, or late-night environments where sound control becomes more important than perfection. This is where practical adjustments matter more than theory especially when you need to balance consistency with not disturbing others.
Use gentle warmups first
Quiet practice works better when you ease into it instead of starting with the most demanding part of a song. Keep the first few minutes simple:
- Light humming: Start comfortably and move through a small range without trying to increase volume.
- Lip trills: Useful for settling into a steady airflow before singing actual phrases.
- Easy pitch slides: Move gradually between comfortable notes rather than testing the edges of your range.
- Short spoken or sung phrases: Finish the warm-up with something familiar at an easy volume.
You do not need a long routine here. The goal is simply to feel settled before moving into song practice. For a complete step-by-step routine, see how to warm up your voice quietly.
Practice songs in smaller sections
Quiet practice isn’t the time to run through a full song from top to bottom. Instead, break it down. Pick a phrase you want to nail, a tricky interval, a line with a breath in an awkward spot, a word you keep clipping. Work just that section. Sing it three or four times at low volume, focusing on one thing: maybe it’s the vowel shape on a particular note, or the breath timing before the phrase starts. This kind of micro-focused practice is more valuable per minute than running full takes. It’s also lower impact on your voice because you’re not driving through material with momentum you’re actually thinking through each piece.
Record yourself during quiet practice
Your ears lie to you when you’re singing. What feels right from the inside often sounds different from the outside especially at lower volumes, where you have less acoustic feedback from the room. A 20–30 second phone recording every few run-throughs will tell you more than your internal sense of how it went. Are you actually on pitch, or just in the ballpark? Is the articulation clean, or are you mumbling through the softer consonants? Is there tension in the sound that you didn’t notice while singing?
Keep the recordings short. You’re not capturing takes you’re checking your technique. Compare a quiet practice clip against a normal-volume recording of the same phrase and notice what’s different.
Use headphones carefully
Backing tracks and headphone mixes can be genuinely useful for quiet practice but they also introduce a common problem. When the track is too loud in your ears, you instinctively push harder to hear yourself, which completely defeats the purpose.
Keep your headphone level lower than you normally would. If possible, try leaving one ear slightly off this gives you a natural sense of your own voice in the room, which makes it easier to stay relaxed. The goal is to use the track as a reference, not compete with it.
Tools that support quiet vocal practice
When room adjustments and lower-volume practice are not enough, a sound-reducing practice tool can make it easier to stay consistent without filling the surrounding space with your voice.
1. Voice Dampener / Singing mask
This more enclosed style sits around the lower face to contain more outward sound during practice. It can suit shorter sessions or situations where reducing sound is the main priority. If you’re comparing this type of setup with a lighter mouth-only design, our guide to singing masks explains how the two formats differ.

Best for:
- Short quiet-practice sessions
- Home or apartment practice
- Singers who prefer a more enclosed sound-reducing setup
Why it works:
The enclosed design helps reduce how much sound travels into the surrounding space while still allowing normal practice with words, scales, and short song sections.
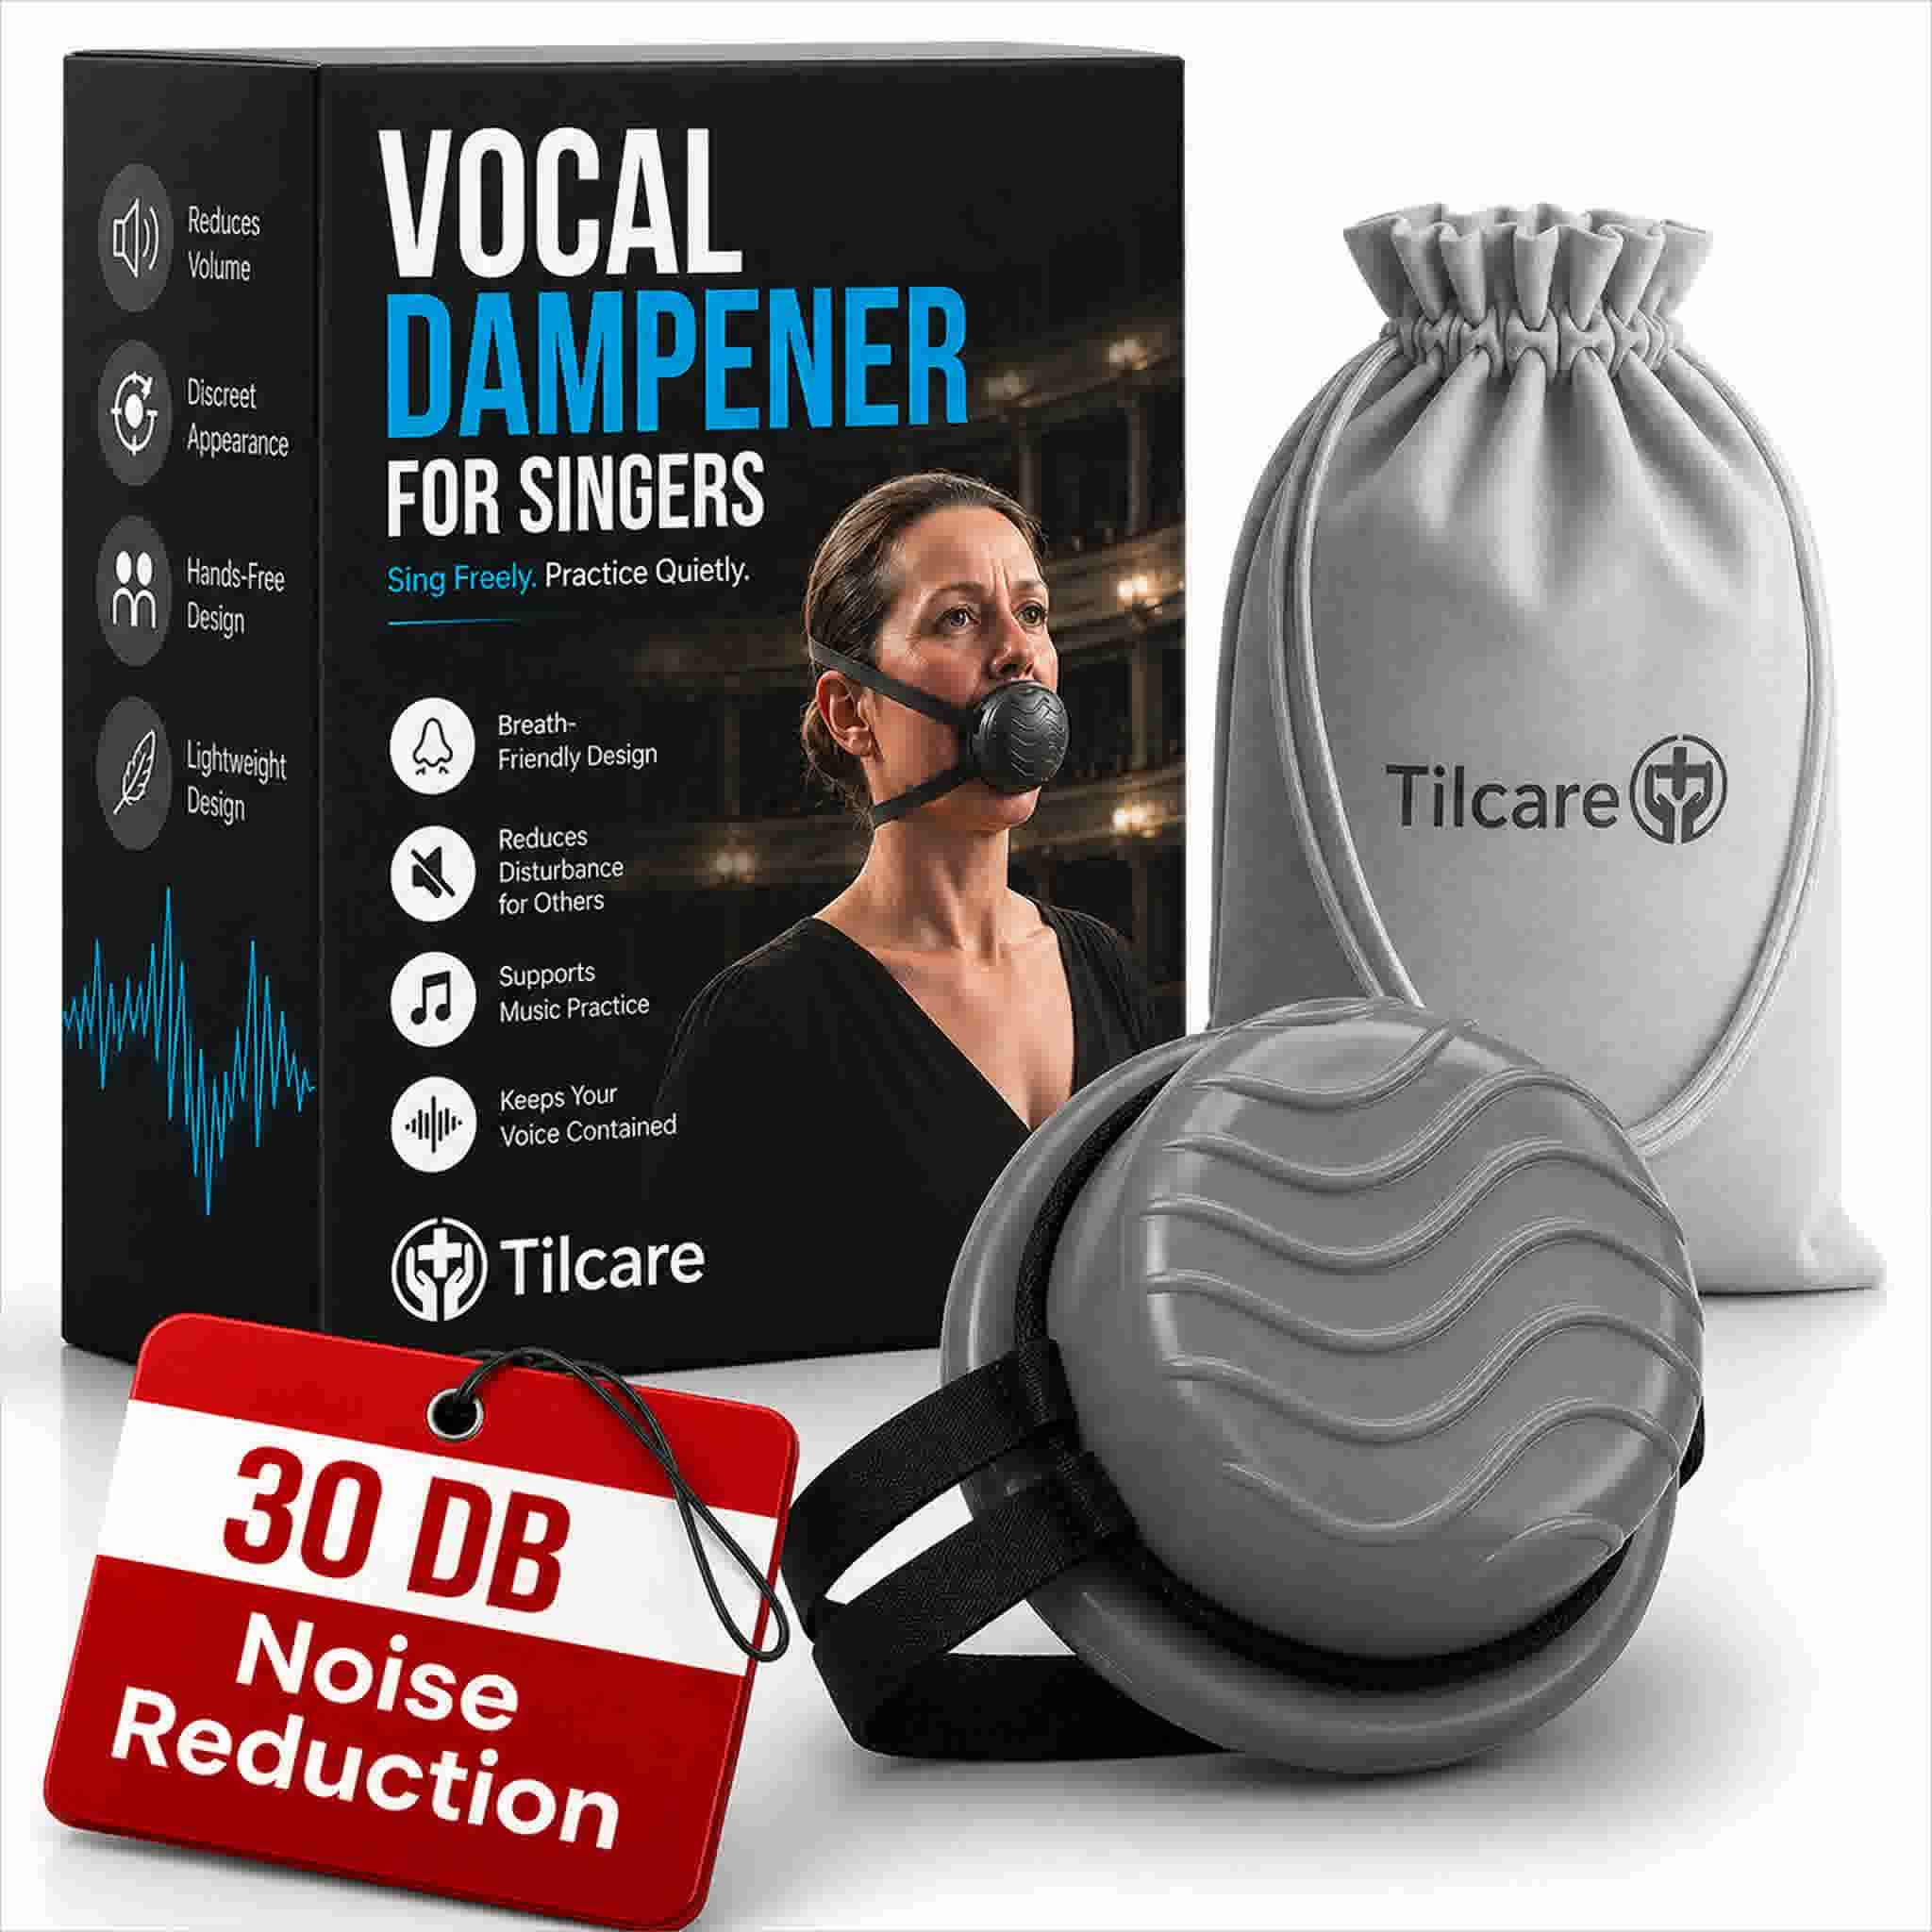
2. Vocal Dampener (Latest Version)
The newer vocal dampener is built for more flexible and extended practice sessions where comfort and airflow matter more.
Best for:
- Longer practice routines
- Home or apartment singing
- Users who prefer lighter, less restrictive design
Why it works:
It focuses on comfort and breath freedom while still reducing external sound during practice.
When quiet practice is not enough?
Quiet practice is useful when normal-volume singing is not practical, but it cannot replace every type of rehearsal. Projection, performance dynamics, room awareness, and the feel of singing freely at normal volume still need dedicated practice when your surroundings allow it. If possible, keep some sessions for open singing in a suitable space rather than trying to make every practice session quiet. A rehearsal room, studio, private room, or another location where normal singing volume is appropriate gives you a chance to work on the parts of performance that reduced-volume practice cannot fully reproduce.
If singing repeatedly feels uncomfortable or unusually tiring, stop rather than trying to compensate by singing even more quietly. For additional educational guidance on voice use and vocal care, the American Speech-Language-Hearing Association (ASHA) provides detailed resources for singers and other voice users. Think of quiet practice as one part of the routine rather than the entire routine.
A simple quiet practice routine
If you want a clean starting point, here’s a 17-minute structure you can use:
- 2 minutes — breathing exercises (4-count inhale, 8–12 count exhale)
- 3 minutes — humming and lip trills through your range
- 5 minutes — soft scales, staying in the comfortable middle of your range
- 5 minutes — one section of a song you’re working on, line by line
- 2 minutes — listen back to a recording, note one thing to improve next session
Conclusion
Quiet vocal practice works when it’s built on control, not restriction. Keep the throat open, let the breath do the work, stay out of your head about the volume, and use recordings to stay honest with yourself. Short and focused beats long and loud every time especially when the walls are thin.

Road Trip Emergency Bathroom Kit Checklist 2026